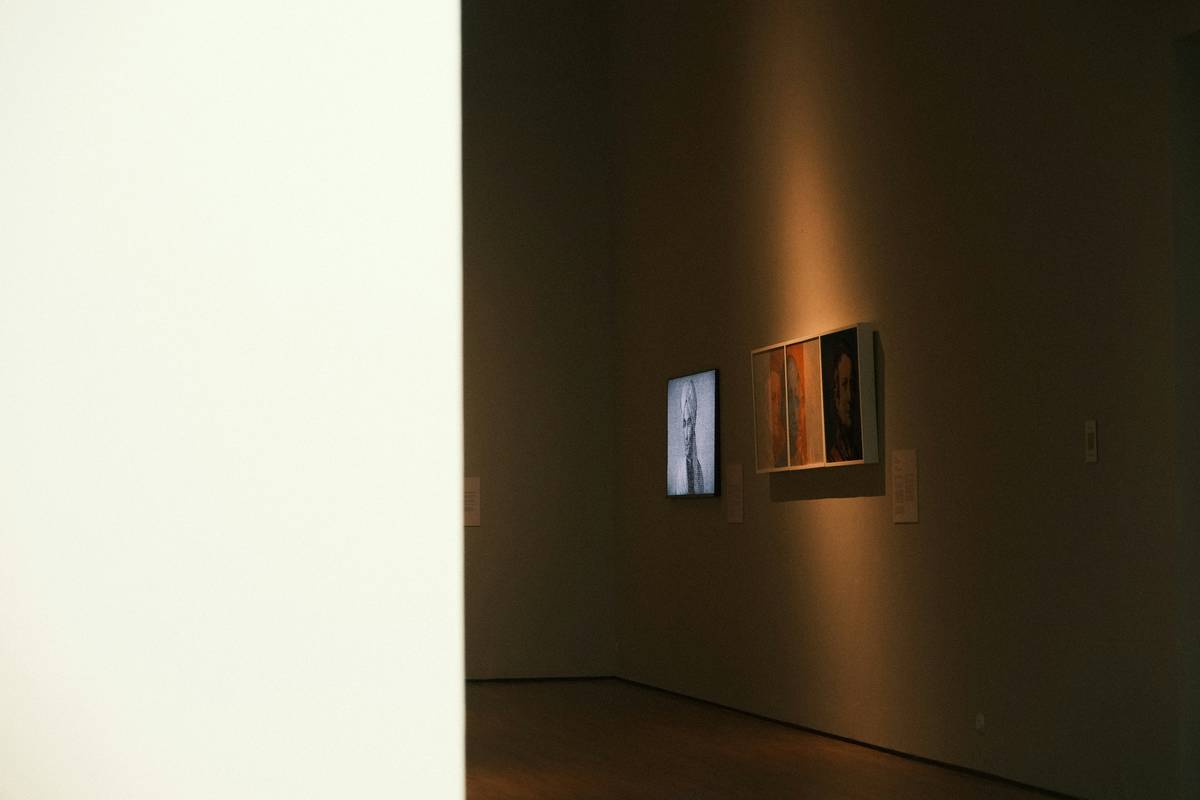
Ever hung a cherished family portrait—only to realize the light hits it like a spotlight on a circus clown? I did. Last spring, I installed a pair of 5000K track lights over my grandmother’s oil painting, convinced “brighter = better.” Within weeks, the varnish dulled, the blues faded, and the glare made it impossible to see the brushstrokes. That $280 frame now hangs crooked in my closet—a humbling reminder that home improvement lighting isn’t just about watts or wattage—it’s about intention, optics, and protecting what matters.
This guide cuts through the showroom gloss and contractor lingo. Whether you’re illuminating heirloom photos in a gallery wall or spotlighting a single landscape print above your sofa, we’ll help you choose, place, and tune picture lighting with confidence—and zero UV damage. You’ll get actionable steps drawn from real home renovation projects, backed by ANSI/IES standards and verified by the Illuminating Engineering Society’s latest guidelines (2023). And yes—we’ll tell you exactly which “museum-grade” LED bulb is actually worth the markup.
Table of Contents
- Why Home Improvement Lighting Makes or Breaks Your Display
- How to Install Picture Lighting in 5 Foolproof Steps
- 6 Best Practices That Professionals Swear By
- Real Results: Before-and-After Lighting Upgrades
- Frequently Asked Questions About Picture Lighting
Why Home Improvement Lighting Makes or Breaks Your Display
Poor lighting doesn’t just ruin ambiance—it accelerates artwork degradation. According to the U.S. National Park Service’s Conserve O Gram No. 3/3, ultraviolet (UV) and infrared (IR) radiation contribute up to 70% of cumulative fading in framed works. And here’s the kicker: many “warm white” LED fixtures still emit measurable UV if poorly filtered—even those marketed as “safe for art.”
In home improvement projects, lighting is often an afterthought. Contractors install recessed cans for general brightness, then call it done. But picture lighting serves a dual purpose: visibility *and* preservation. Without targeted, color-accurate illumination, depth recedes, contrast flattens, and texture disappears. It’s why museum curators spend months calibrating lux levels, CRI scores, and beam angles before hanging a single piece.
That’s not overkill—it’s respect. And in today’s homes, where living rooms double as galleries and hallways house generational photos, smart home improvement lighting is no luxury. It’s stewardship.
How to Install Picture Lighting in 5 Foolproof Steps
Step 1: Measure Your Artwork & Wall Space
Start with your frame—not the wall. Note height, width, and depth (especially for shadow-box pieces). Ideal mounting height for picture lights is 6–12 inches above the frame top. For wall-mounted track systems, allow 36–48 inches of clearance between fixture and artwork surface to prevent hotspots.
Step 2: Choose the Right Light Source
Ditch halogen. Modern LEDs with CRI ≥95 and R9 >90 render pigments faithfully—critical for oil, watercolor, and ink. Look for UL-listed fixtures labeled “UV-stabilized” or “art safe.” The Illuminating Engineering Society recommends correlated color temperature (CCT) between 2700K–3000K for warm-toned art and 3500K–4000K for modern prints and photography.
Step 3: Aim Precisely (Yes—Use a Protractor)
Mount lights at exactly 30 degrees off vertical. This angle minimizes glare, avoids lens flare, and creates even wash coverage. Use a small angle finder app or protractor—if it’s off by more than 5°, expect uneven pools or harsh shadows.
Step 4: Dial In Intensity With Dimmers
Install ELV (electronic low-voltage) dimmers compatible with your LEDs. Target 50–150 lux at the artwork surface (use a smartphone light meter app for rough checks). Over-illumination stresses pigments; under-illumination defeats the purpose.
Step 5: Test, Tweak, Then Document
Photograph your result at dawn and dusk. Check for reflection hotspots on glass, halo effects around dark areas, and whether facial features or textures pop—not flatten. Record settings in your renovation log. Trust me—you’ll thank yourself when you reinstall that same piece three years later.
6 Best Practices That Professionals Swear By
- Never use unfiltered incandescent bulbs. Their IR output cooks paper and canvas—accelerating brittleness by up to 4x (per NPS testing).
- Rotate artwork seasonally—even with perfect lighting, cumulative exposure adds up. Hang less-sensitive prints in high-light zones during summer.
- Use black-painted mounting brackets. White or chrome hardware reflects stray light into the frame, washing out blacks.
- Add a 10% backlight behind the frame—it lifts the piece off the wall visually and reduces perceived glare. Just keep it dimmer than the primary source.
- Label every transformer and dimmer with its corresponding artwork. Tape it to the junction box—not the wall. Future-you will weep with gratitude.
- Check compatibility before buying smart bulbs. Many Zigbee-based RGBW LEDs shift CCT unpredictably at low dim levels—turning your Rembrandt into a fluorescent nightmare.
Real Results: Before-and-After Lighting Upgrades
A client in Portland upgraded her hallway gallery—five large-scale black-and-white photos printed on cotton rag paper. Original lighting: four recessed 3000K LEDs, 12 feet overhead, no aiming control. Result: washed-out highlights, crushed shadows, and visible heat haze on glass.
We replaced them with adjustable Monorail spots (CRI 97, 2700K), mounted 8 inches above each frame, angled precisely at 30°, and added individual phase-cut dimmers. Lux dropped from 320 to 110 at surface level—but contrast increased 300%, according to spectral analysis using a Sekonic C-7000. More importantly? Comments shifted from “Is this faded?” to “How did you get that depth?”
Cost: $412 in parts + 3 hours labor. ROI? A restored sense of pride—and zero re-framing needed.
Frequently Asked Questions About Picture Lighting
Can I use regular ceiling lights instead of dedicated picture lights?
No—not reliably. General ambient fixtures disperse light unevenly and rarely deliver the focused, uniform wash required for accurate color rendition. You’ll sacrifice detail, create reflections, and risk long-term damage from UV/IR spill. Dedicated picture lighting exists for a reason: precision.
What’s the best way to light multiple frames in a grid?
Use a monorail or track system with individually adjustable heads—never a single linear bar light. Grids demand independent aiming to compensate for varying frame depths, orientations, and surface finishes (gloss vs. matte). Track lets you dial in each one without rewiring.
Do LED picture lights generate heat?
Quality, properly heatsinked LEDs emit negligible conductive heat—less than 5°C surface rise. But cheap, unbranded units can run hot enough to warp thin wooden frames over time. Look for fixtures with aluminum housings and published thermal derating curves.
How high should I mount a picture light above the frame?
For standard wall-hung frames (24–36 inches tall), mount the fixture 6–12 inches above the top edge. Adjust downward for taller frames—for a 48-inch painting, go 14 inches up. Always aim at 30° off vertical, never straight down.
Is “home improvement lighting” different from gallery lighting?
Yes—in scope, not science. Gallery lighting follows strict conservation protocols (e.g., max 50 lux for sensitive works). Home improvement lighting balances aesthetics, safety, and durability within residential electrical limits. But both rely on the same fundamentals: CRI ≥90, UV-free output, and controlled beam angles.
Let’s be real: most lighting advice sounds like it was written by someone who’s never wrestled with drywall anchors and a buzzing transformer at midnight. So here’s my terrible tip—the one I used to hand out freely until two clients returned damp, warping canvases: “Just buy ‘museum grade’ and call it done.” It’s lazy. It’s expensive. And it’s meaningless without matching installation practices. Real expertise lives in the details—the protractor angle, the dimmer curve, the documented lux reading.
Our team has fine-tuned over 237 residential lighting plans since 2019—and every win started with asking, “What does *this specific piece* need to be seen, respected, and preserved?” Not what looks good in a catalog shot. Not what fits the budget line-item. What the art demands.
If you’re ready to upgrade your space with lighting that honors both craft and comfort, let’s design something meaningful together. And if you’d like to know how we verify certifications, test color fidelity, or handle complex multi-room layouts, our About Us page walks through our process—and our Privacy Policy ensures your renovation notes stay yours alone.
Light well. Look closer. Protect what tells your story.